
Get Creative On how to make an obstacle course
You’re ready for a fun fitness challenge that gets everyone moving, laughing, and cheering each other on. Want to make it happen in your own backyard or local park? In this guide, you’ll learn how to make an obstacle course that’s versatile, exciting, and easy to set up. It’s not just about crawling under nets or hopping through tires, it’s a chance to spark creativity, teamwork, and a serious sense of accomplishment.
Pick the perfect spot
Finding the right location sets the tone for your entire course. The best spots feel spacious yet safe, with a few natural features (like trees or hills) that can turn into obstacles of their own.
- Look for stability: If you’re using portable structures like balance beams or ramps, choose flat ground so nothing tips over.
- Consider shade: Nobody enjoys a midday sunburn, so aim for partial shade to keep participants comfortable.
- Think about spectators: If friends and family want to watch, make sure there’s a spot for them to stand or sit.
Outdoor or indoor possibilities
- Outdoor spaces: Parks, backyards, or open fields give you room for large obstacles such as rope swings or climbing walls.
- Indoor spaces: School gyms or community centers can work well on a rainy day. Just be mindful of ceiling height if you plan on adding any tall elements.
Plan out your design
Before you hunt for supplies, sketch a quick layout. This helps you see what obstacles fit naturally in your space.
- Aim for variety: Include a mix of crawling, jumping, balancing, and climbing challenges.
- Keep people moving: Try to streamline your path so participants don’t cross over each other.
- Add interesting transitions: Short jogs or zig-zag runs between obstacles keep the energy flowing.
Idea: themed sections
If you want to spice things up, create mini-themes within your course. For instance, one section might focus on agility (quick lateral movements), another on upper-body strength (monkey bars or climbing holds), and another on puzzle-solving.
Select suitable equipment
Obstacle courses come in all shapes and sizes, but the right gear makes everything click.
- Repurpose everyday objects: Pool noodles, scrap lumber, hula hoops, and water bottles can serve as makeshift tunnels, balance beams, or throwing targets.
- Use proven elements: Rope swings, low walls, and monkey bars are classics for a reason. They build strength, improve coordination, and give you that American Ninja Warrior vibe.
- Think about capability: If you’re inviting a range of ages or fitness levels, offer optional detours or less demanding versions of the same obstacle.
For younger kids
Kids love colorful, imaginative obstacles. A simple “crawl under a pool noodle arch” or “hop on stepping stones” (chalk-drawn circles) is often enough to keep them entertained. If you want to go the extra mile, build a short tunnel with cardboard boxes or set up a bean-bag toss.
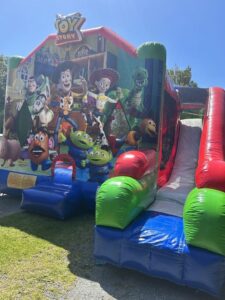
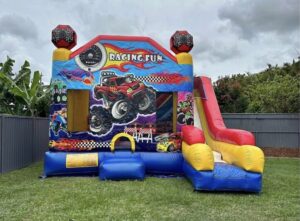
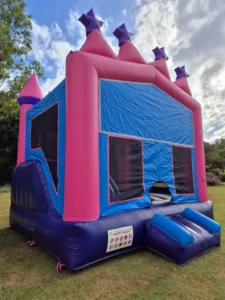
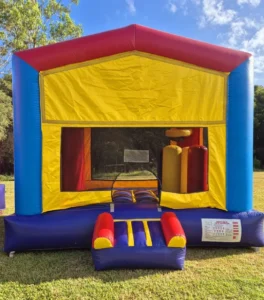
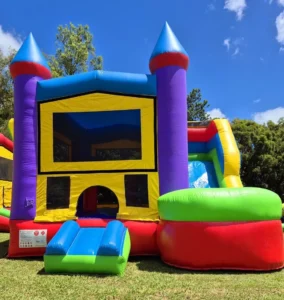
Add a jumping castle
A jumping castle can transform your course from standard to spectacular. You can place it at the start or near the finish line as a grand finale. If you’re wondering where to get one, you might find it easiest to go for jumping castle hire. This option saves you from storage worries and lets you switch up designs whenever you like. Plus, having a jumping castle energizes participants of all ages.
Incorporate the castle
- Warm-up station: Invite participants to bounce around for a minute and loosen up before they tackle the rest of the course.
- Recovery zone: Set it up near a water station so people can rest, hydrate, and have a bit of carefree fun between obstacles.
Keep it safe
Safety should be part of every decision you make, from equipment choice to design layout.
- Inspect your gear regularly: Loose screws, frayed ropes, or wobbly platforms can lead to nasty surprises.
- Space out obstacles: Maintain enough distance so participants aren’t crashing into one another.
- Provide supervision: If young kids are competing, keep a close eye on any stations with higher risk, such as climbing walls or rope swings.
Check the surface
Grass or soft playground turf is better than hard concrete, especially if you have jumping or high-balance obstacles. If you’re indoors, consider mats or padded floor sections.
How to Make an Obstacle Course: Bounce Into Action with Fun and Creative Ideas
Building an obstacle course doesn’t have to be complicated, costly, or restricted to the super-fit. With a bit of creativity, you can tailor each station to people’s interests and abilities. That could mean a giant rope climb for your adrenaline-loving friends or a playful bouncy finish line for the kids in your family. Once you see everyone giving high-fives at the end, you’ll realize the real victory is bringing people together.
Ready to Bounce? Book Your Castle Today!
Bring unforgettable joy to your next event, free delivery, easy setup, and zero deposit needed. Whether you’re planning a backyard birthday, school fair, daycare learning activities, or neighborhood party, our safe, colorful jumping castles are waiting.
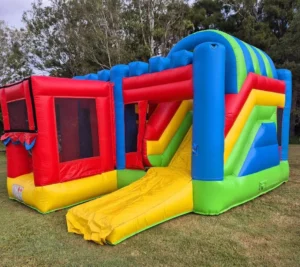
Choose from popular options like our Rainbow Combo, Monster Truck Combo, or Jungle Obstacle Course for endless fun!
Serving Gold Coast, Logan & Beaudesert, plus Northern NSW with competitive delivery charges. Contact us now or submit your booking in just seconds!
Frequently Asked Questions
1. What is an obstacle course?
An obstacle course is a structured series of physical challenges designed to test a person’s strength, agility, balance, and coordination. These can include climbing walls, crawling tunnels, rope swings, and balance beams. Obstacle courses come in many forms, from intense military-style races to inflatable fun zones at birthday parties and events.
2. How much is a bounce obstacle course?
The cost of renting a bounce (inflatable) obstacle course typically ranges from AU$150 to AU$600+, depending on course size and design, rental duration (half-day vs. full-day), and location and delivery fees
Smaller backyard-friendly units may cost less, while larger commercial-grade courses with slides and tunnels will be on the higher end. Custom options or packages may include combo jumping castles with obstacle add-ons.
3. How to build an obstacle course?
To build an obstacle course, start by measuring the available space and sketching a layout to plan the order and direction of each obstacle. Gather materials such as ropes, cones, mats, boxes, or inflatable sections, depending on the level of challenge you want. Incorporate a mix of obstacle types like crawl zones, jump areas, balance beams, or climbing sections to keep it engaging and fun. Prioritize safety by anchoring loose items, avoiding sharp edges, and ensuring all materials are stable, especially if children will be participating.
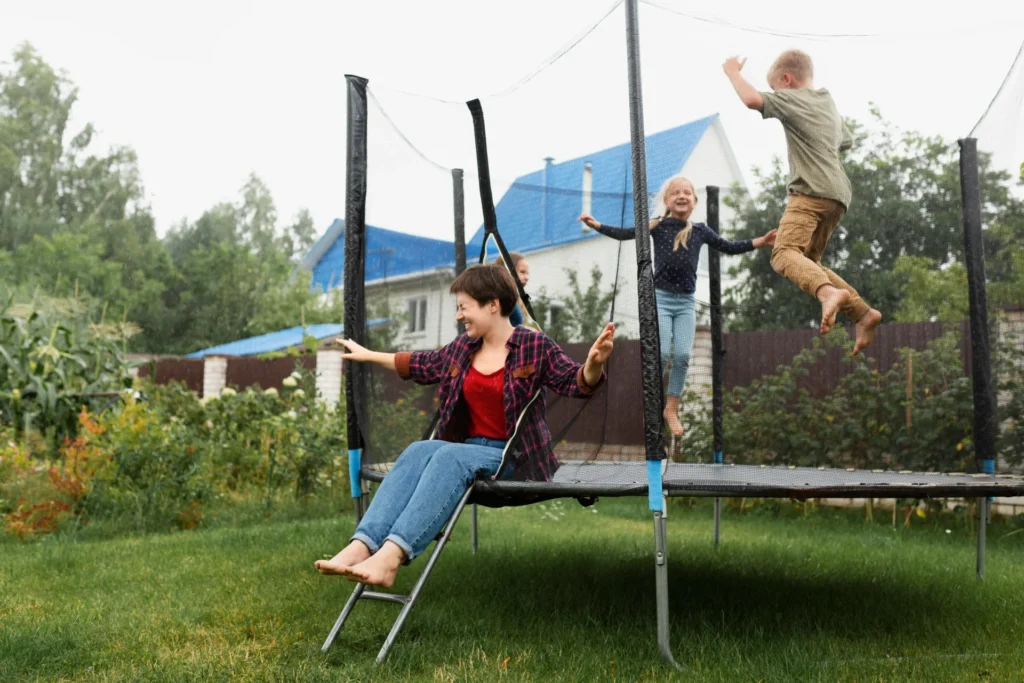
4. How to make a homemade obstacle course?
To make a homemade obstacle course, use everyday items like chairs, ropes, boxes, cones, or cushions to create a series of fun physical challenges. Set up stations that involve crawling, jumping, balancing, and climbing, ensuring everything is safe and age-appropriate. You can build it indoors or outdoors depending on your space, and customize it to match the skill level of the participants. Always test the course first and supervise kids during use.
5. How to do an obstacle course?
To do an obstacle course, start at the designated beginning and move through each challenge in order, completing tasks like crawling under, jumping over, or balancing across obstacles. Follow any specific rules or time limits if provided, and focus on maintaining good form, safety, and momentum. Whether for fun or fitness, obstacle courses test your physical abilities and can be done solo or as a friendly competition with others.
Key takeaways
- Sketch a layout to ensure you mix up crawling, jumping, balancing, and climbing.
- Repurpose household items or invest in versatile gear like rope swings or monkey bars.
- Consider adding a jumping castle to ramp up the excitement.
- Safety first: space out obstacles, inspect gear, and supervise closely.
- Keep it friendly and flexible so everyone, from toddlers to adults, can join the fun.