
How to make inflatables: Begin with the basics
If you have ever wondered how to make inflatables at home, you are in the right place. It might sound tricky at first, but with the right materials and a few practical steps, you can craft anything from a simple air-filled decor piece to a robust jumping castle. The secret to successful DIY inflatables is choosing your materials wisely, sealing them properly, and testing for safety every step of the way.
Understand inflatable types
Most inflatables fall into two main categories:
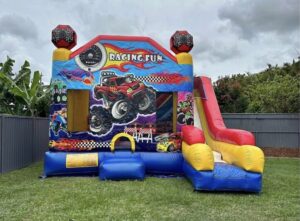
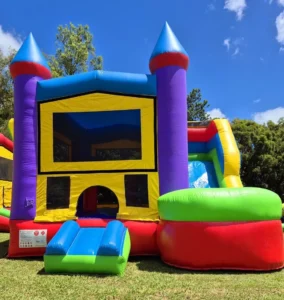
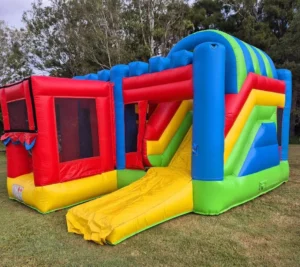
- Cold air inflatables require a continuous blower (like those used for holiday yard decorations). They are typically made from nylon or polyester fabric. Examples include Rainbow Combo or Monster Truck Combo.
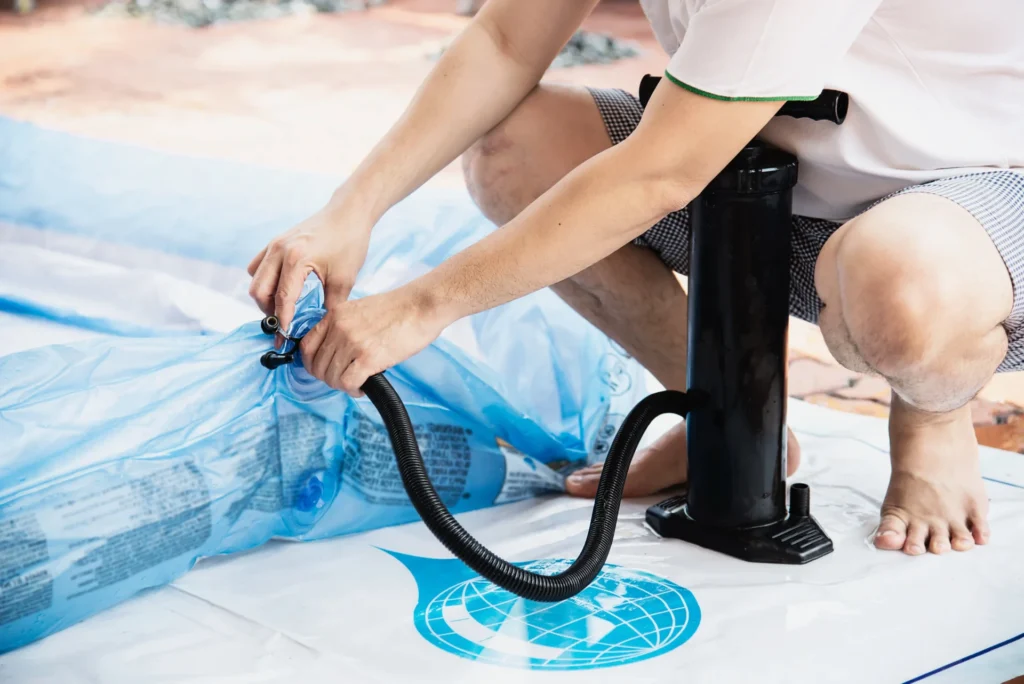
- Sealed air inflatables store air inside without a constant blower. Think pool floats or small air mattresses. They might need a top-off after a few days.
Choosing one depends on how you plan to use your inflatable. If you want a giant piece for events, cold air might be your go-to. If you prefer something that does not have a constant blower hum, sealed air is the way to go. This choice is crucial when creating DIY inflatables that are both functional and durable.
Plan your design
Planning starts with your goal. Are you making an inflatable bounce house for a backyard party, or do you just want an eye-catching shape for a promotional event? Sketch out the final look, including any logos or color schemes you want. Keep in mind that if you desire a concave shape, you will need internal support to push the sides inward since inflatables naturally want to puff out.
- Consider the environment: Indoor inflatables can be lighter. Outdoor pieces need sturdier fabric to withstand wind and weather, like Hot Air Balloons Double Slide.
- Choose your color palette carefully: Lighter shades reflect light, which can make your inflatable appear bigger and brighter.
Select sealing method
Inflatables can be created in two primary ways: sewing or sealing with heat or adhesives.
- Sewing: Ideal for cold air inflatables or heavy-duty structures such as Obstacle Course. Use nylon/polyester (70–200 denier) and strong thread (Tex 69–92). Double-stitch seams for extra strength.
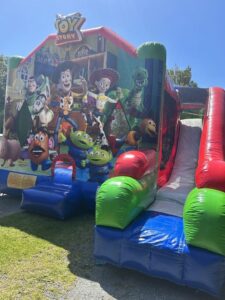
- Heat sealing or adhesives: Perfect for sealed air inflatables like Toy Story Combo. Options include high-frequency welders, thermal welders, or polyurethane adhesives. DIY enthusiasts can experiment with polyethylene sheets and a household iron for small projects.
If you are a do-it-yourself enthusiast, you can experiment with household tools. For instance, you can seal polyethylene sheeting from a hardware store using an iron and parchment paper. It is not as durable as factory welding, but it works well for smaller projects and is perfect for creating homemade inflatables.
Inflate and test
Once your seams are sealed or stitched, it is time to bring your project to life:
- Attach a blower or valve: For cold air inflatables, a blower runs continuously. For sealed air inflatables, add a valve that allows you to inflate and close it off.
- Check for leaks: Listen for air hissing or use a soapy water spray to spot bubbles. Mark any leaks and patch them up with a matching seal or adhesive.
- Test durability: Give it a few gentle tugs and see if any seams pull apart. If you are creating something bigger like a jumping castle, do a “bounce test” with a bit of caution. Consider anchoring if it is going outdoors.
Not quite feeling up for the full DIY approach? Check out jumping castle hire options for a ready-made solution, or try simpler projects like homemade inflatables that are easy to set up.
Maintain for durability
A homemade inflatable needs regular care to stay in top shape. Here are some tips:
- Keep it clean: Wipe down dirt or debris with mild detergent. Rinse and ensure it is fully dry before storage to prevent mold or mildew.
- Store safely: Roll or fold your inflatable in a cool, dry spot. Avoid direct sunlight, as UV rays can weaken certain materials over time.
- Perform routine checks: If you notice small tears, fix them quickly with a patch kit. Loose seams? Reapply heat or adhesive to seal them back up.
By maintaining your inflatable properly, you extend its life span and keep it looking sharp for every event.
How to Make Inflatables and Keep Inflating Confidently
You now have the essentials for creating durable and exciting inflatables. Whether you are designing a small decorative piece or looking to craft a large inflatable bounce house, the process comes down to solid planning, quality materials, and careful testing. If you ever need a break from building your own, you can explore how to blow up inflatables for simpler ideas or even figure out how much to hire a jumping castle? to give yourself a more relaxed weekend. With these tips in your back pocket, you are free to keep experimenting and, of course, keep having fun.
Ready to Bring Your Inflatable Ideas to Life?
Whether you’re eager to tackle your first DIY inflatables project or want a hassle-free option for your next event, it’s time to take action! Explore our jumping castle hire options for instant fun, or dive into creating your own custom inflatable with the tips from this guide. Don’t wait—start inflating excitement today!
Frequently Asked Questions
1. Where to rent inflatables?
You can rent inflatables from local party supply stores or specialized rental services that offer delivery and setup for events.
2. How much bouncy castle?
The cost of a bouncy castle depends on size, design, rental duration, and location, with prices ranging from affordable hourly rates to premium packages.
3. How to inflate a bouncy castle?
It’s simpler than you think! Learn the step-by-step process in this detailed guide: how to inflate a bouncy castle.
4. Can I make a sealed inflatable for outdoor use?
You can, but frequent re-inflation is often necessary. Outdoor elements like temperature changes or minor punctures can cause air loss over time.
5. What materials are best for DIY inflatables?
For durable DIY inflatables, fabrics like nylon or polyester are great for cold air types, while PVC or TPU works well for sealed inflatables. Choosing the right material ensures safety, longevity, and easier inflation.
Key takeaways
- Start by finalizing a clear design and picking materials suited for indoor or outdoor use.
- Choose between sewing and sealing with heat or adhesives, based on your project’s needs.
- Test your inflatable thoroughly for leaks or weak seams before you put it to use.
- Maintain your creation with gentle cleaning, safe storage, and timely repairs to ensure it stays inflatable for many adventures to come.